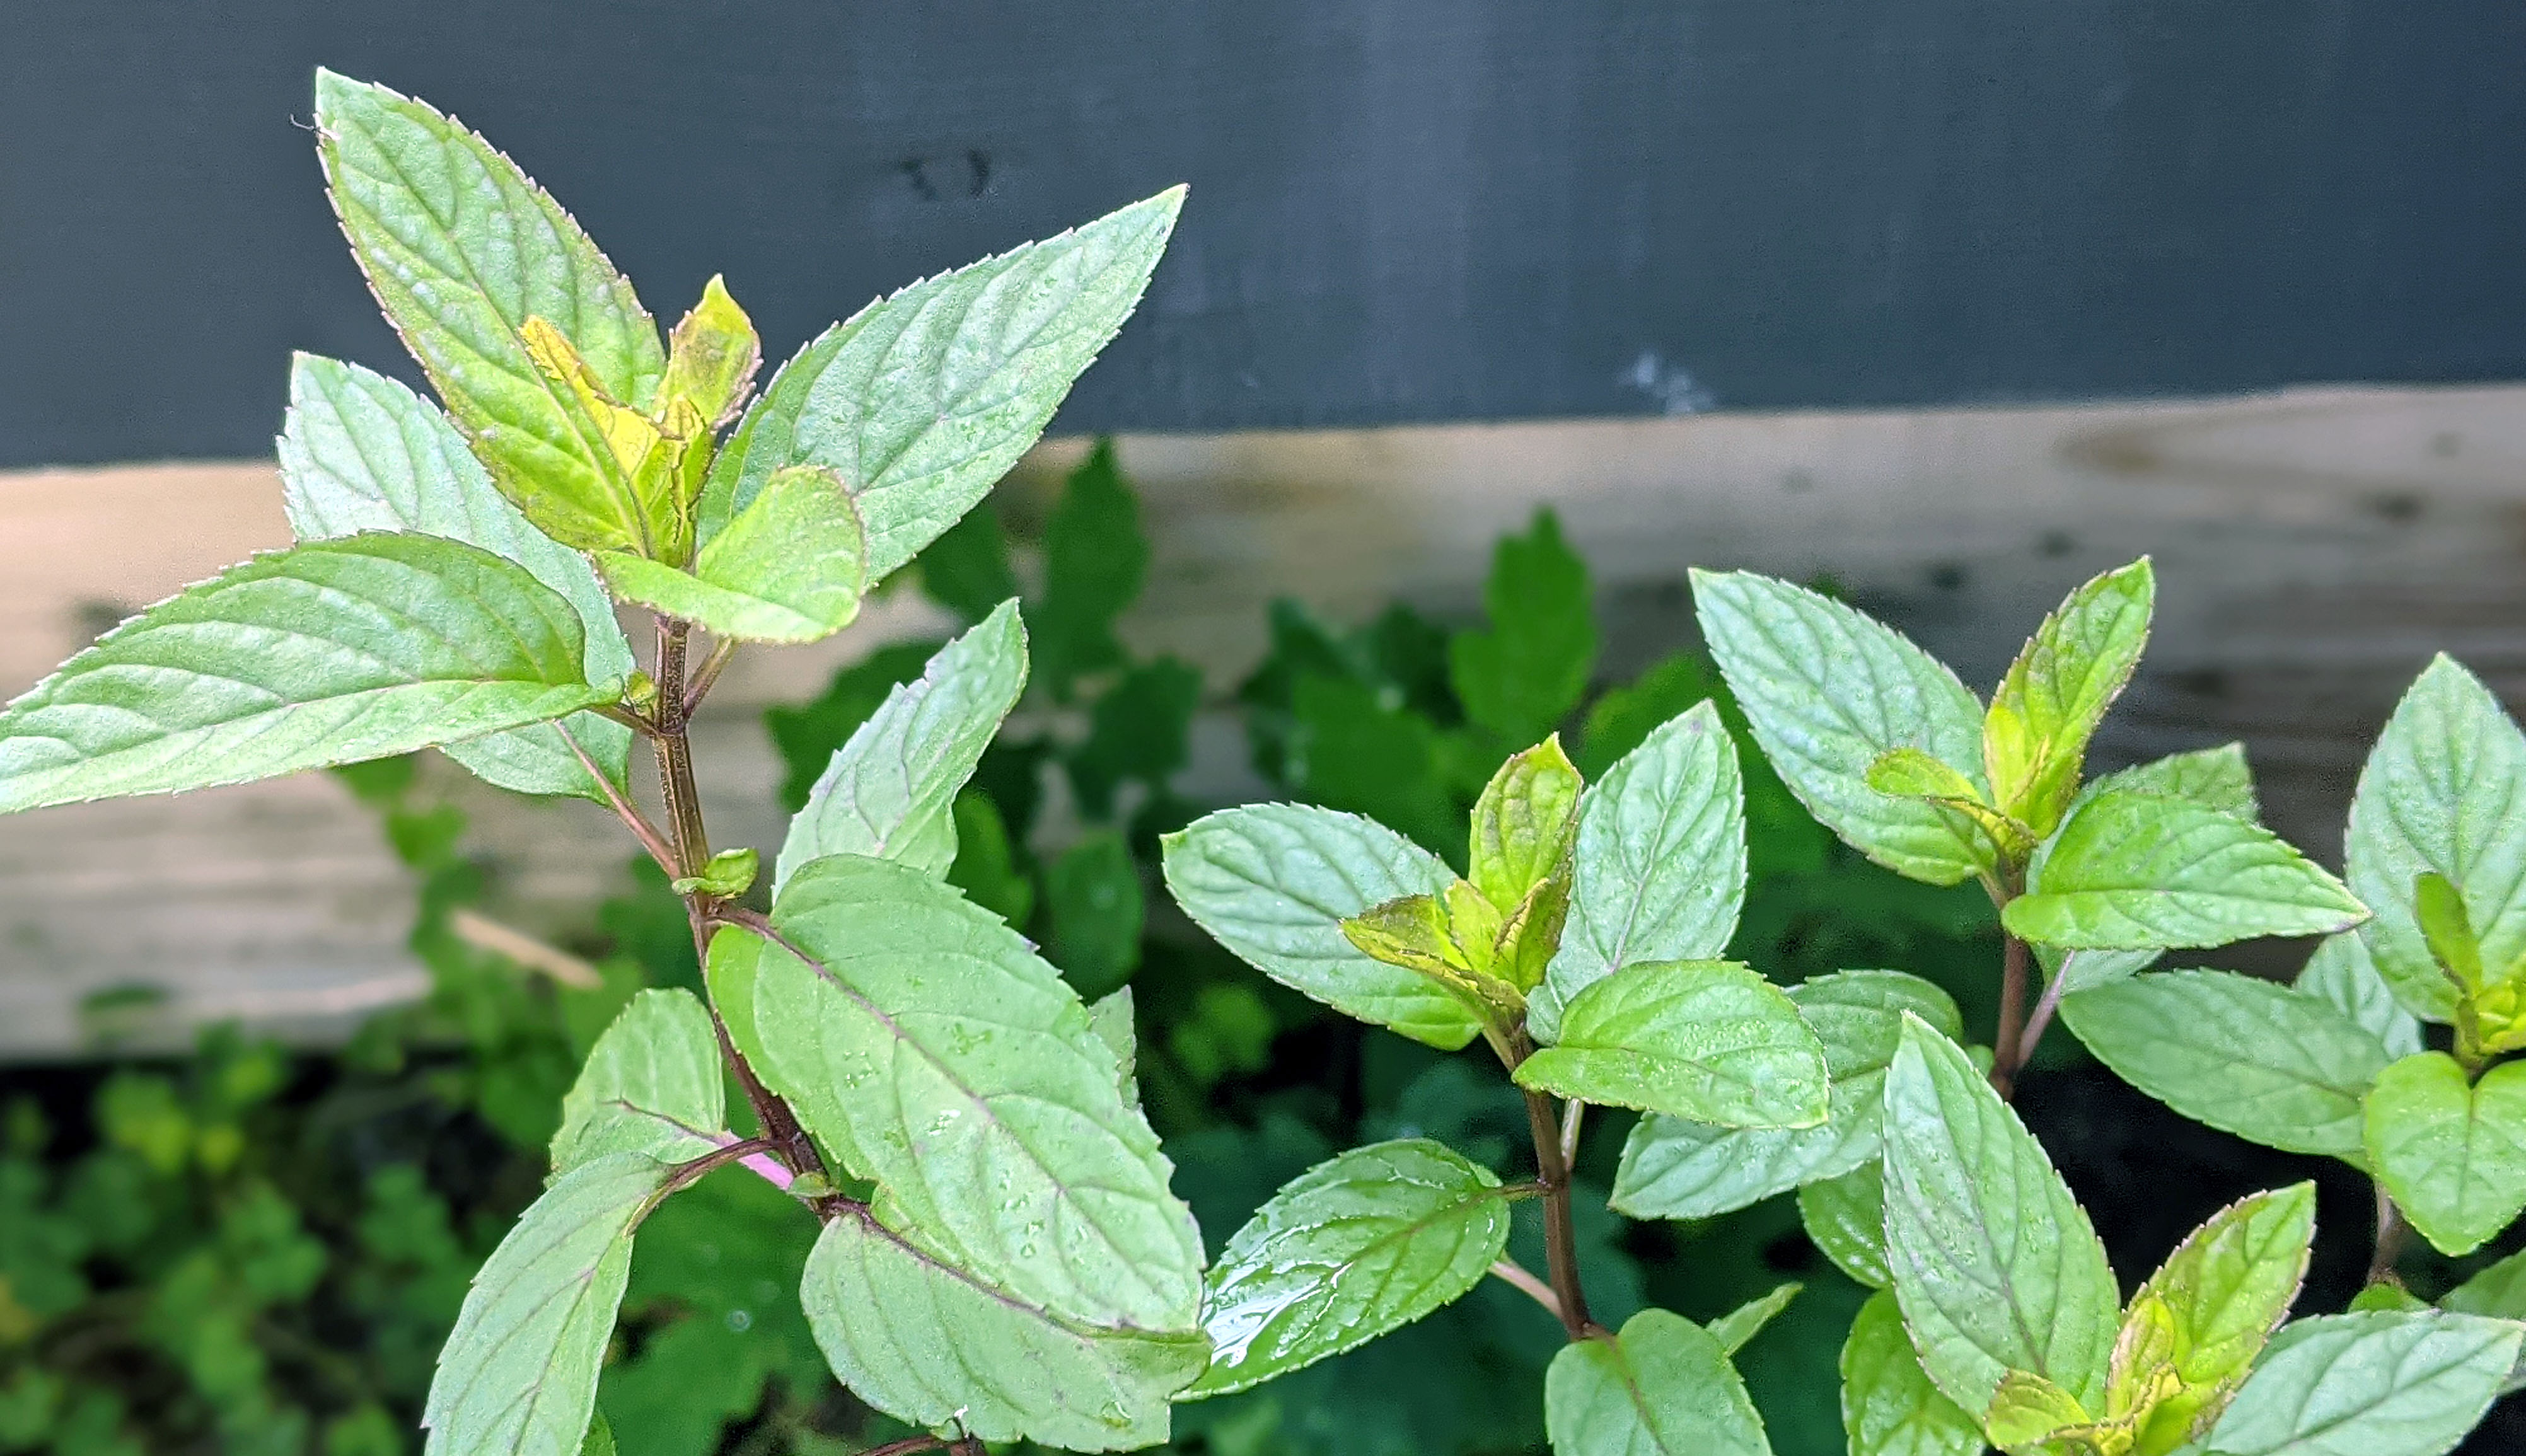
Got a lot of mint in the garden you don’t know what to do with? Try making mint oil! It’s a great way to safely and organically remove ground-nesting wasp nests.
A couple weeks ago I had this painful misfortune of running over a Yellow Jacket’s ground nest with the lawn mower. NOT fun. I highly recommend avoiding it. It also means I needed to find a way to remove the wasp nest so I could finish mowing the lawn, and so no one else gets hurt. My preferred way to remove ground-nesting wasp nests is with mint oil and hot water.
I really like using the mint oil method for several reasons. Number one, it works. I can’t imagine anything worse than thinking you removed a wasp nest just to find out the hard way that its still there. Two, its cheap if you have mint growing in your yard and it’s fairly easy to do. Mint plants spread pretty quickly in most areas and can actually take over a garden plot very quickly if you’re not careful. Three, it won’t hurt any of the other insects and wildlife on your property. We have a ton of frogs, snakes, rabbits, birds, bugs, and other assorted critters that live here. I love getting to observe the biodiversity and don’t want to do anything that might endanger the critters that live here.
So. Here’s the Wasp Nest Removal Method I use:
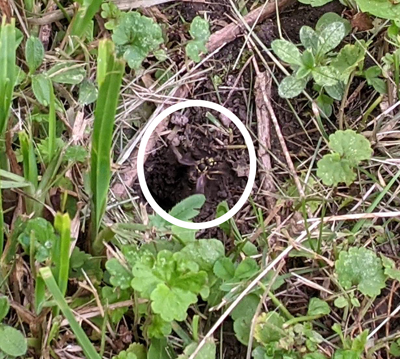
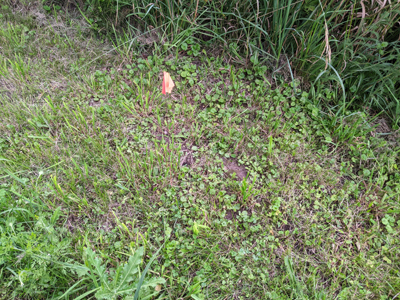
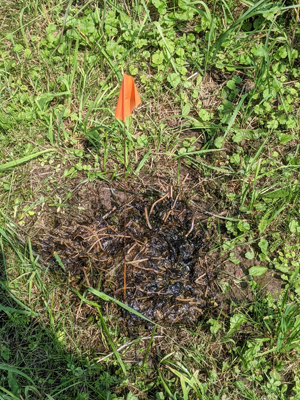
Step 1 – Locate the entrance of the wasp nest (kinda hard to remove it if you don’t know where the opening is) and clearly (very carefully!) mark it. It will basically look like any other snake or small critter hole in the ground (of which we have many), except for the wasps coming in and out of it if you watch it long enough. I stuck a bright orange flag next to the entrance of mine. The wasps really did not link this. They started swarming immediately… Definitely found the right place though!
Step 2 – Wait until dark to work on wasp control. This is the safest and most successful option, as most wasps are fast asleep after dark and they all come home to sleep at night (unless they got lost or really mistimed the day).
- Step 2a – If you can, get a second set of hands to help with the next part. It really helps to have someone help carry things and hold a flashlight so you can see what you’re doing…
Step 3 – Go out in the dark and pour mint oil down the entrance of the wasp nest. See below for the recipe.
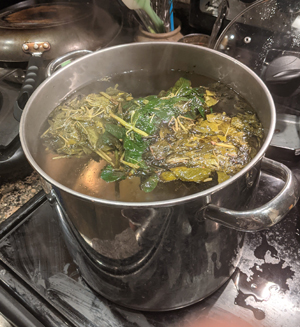
Step 4 – Pour a big pot of boiling, or super hot, water down the entrance to the wasp nest. This helps make sure the oil gets all the way down into the nest and through and splits there may be in the underground tunnel works.
Step 5– Just to be safe, you should always check the next morning to make sure this worked before resuming normal activity. Very carefully check around the wasp nest entrance to make sure there is no wasp activity. There should be absolutely no wasp activity anymore. After not seeing any wasps at all where there used to be many, I stuck a shovel in a bunch of places around the wasp nest to test it. Nothing. No angry wasps :)
So far, I’ve always had success on the first try using this method and the mint oil recipe below, but mint oil strengths can vary, or the amount of hot water used, or some unknown environmental factor. If it doesn’t work the first time you try this, you can always try again - maybe with stronger mint oil, or probably just more of it…
Here is the Mint Oil Recipe I use to remove wasp nests:
Ingredients:
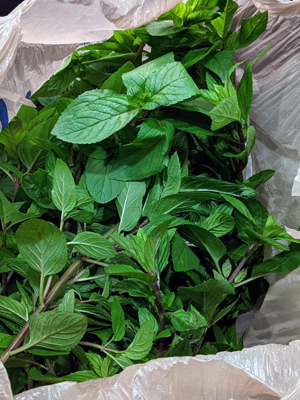
- 2 or 3 bags worth of fresh mint.
- I believe you can probably use dried mint too, but I haven’t experimented with that option.
- This year I used regular mint to make the oil. I have also used chocolate mint in the past.
- Vegetable oil (or some other easy to obtain cheap oil).
- Cooking pots, strainer, & funnel.
- Empty jug/container to put finished oil in. It helps if it is easily pourable.
Directions:
- Split mint into three portions.
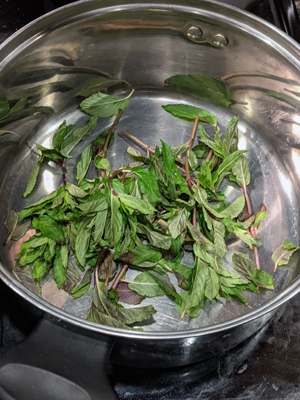
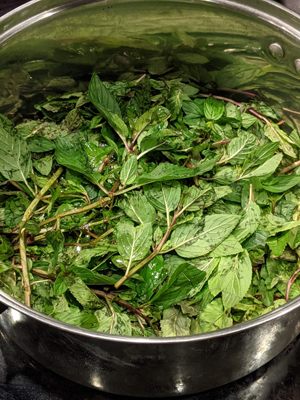
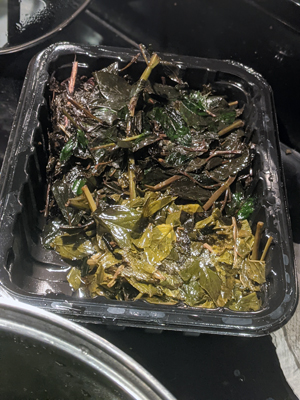
- Chop, tear, and or lightly mash/bruise the first portion of mint and place it in the cooking pot. The goal is to release the mint aromas so they better infuse the oil.
- You can use the stems with the leaves.
- I rough chopped the portion into more manageable bits, and then used our drink muddler to lightly mash the leaves and stems (the kitchen smelled wonderfully minty).
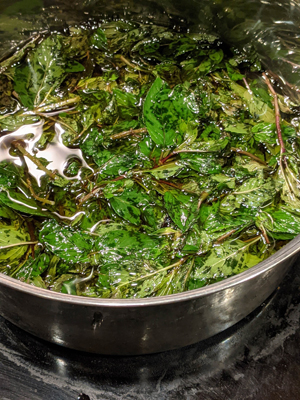
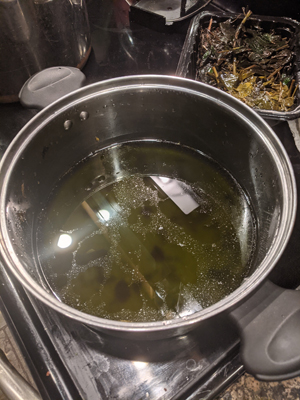
- Pour just enough oil in the pot to cover the mint. You can use a spoon or fork or something to make sure all the mint is covered and submerged. Any extra oil will just dilute the strength of the mint.
- Simmer on low for about an hour or until you remember to check on it. I put the pot on after dinner and then started watching tv… Kinda forgot about it, but the timing doesn’t need to be precise. It just needs to cook down a bit to release more of the mint aromatics… Just don’t let it burn. I think that would change the chemical composition and I’m not sure it would work so well.
- Turn the stove off, let it sit overnight and come back to it after work the next day.
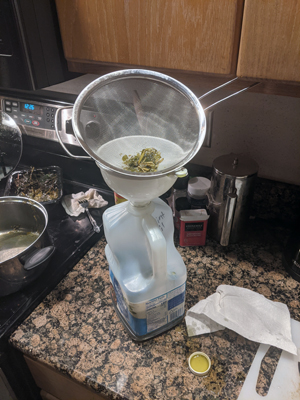
- Strain out the mint bits in the pot while transferring the oil to a container. Save the strained out bits to add to the boiling water (Method, step 4 above).
- Get portion number two of your fresh mint.
- Repeat steps 2-6, except instead of using fresh oil to cover the mint in the pot, reuse the oil that was already cooked in mint. Its ok if you need to add a little fresh oil to make sure the mint is covered though. Reusing the same oil the mint was already cooked in will make the oil extra minty strong. Which is what we want for our wasp nest removal.
- Repeat step 8 with the third and last portion of mint.
- Tada! All done.
Hopefully this wasp nest removal procedure and mint recipe helps with any troublesome ground nest you may encounter. Good luck!
Support the blog
Like my blog? Want to help keep the new content coming and the pages ad free? Consider becoming one of my Patreon Patrons! Any amount, big or small, helps me spend more time creating and less time trying to keep the lights on. Patreon Patrons can also get exclusive access to monthly newsletters, story sneak peeks, story requests, and more! Please consider supporting the blog and check out my Patreon Patron support page.
Ok, you say, but what is this Patreon thing you are talking about? Patreon is a service that helps connect content creators with folks who want to help support creative endeavors. Patreon is setup to be able to safely handle the financial side of transactions so both the patron and the creator can be confident their information is secure. You can read more about what Patreon is HERE.
Thank you!!
Not interested in a Patreon monthly subscription? Prefer to make a one-time contribution? We have that option too! Help support the blog with a one-time donation through PayPal instead! Thank you!!
Gifts & Swag Galore
Now you can get prints of some of our favorite critters on Red Bubble! Everything from tote bags and pillows, to greeting cards and note books, to t-shirts and mugs!
Check out it out HERE. The store is organized by design, so pick a critter picture to see all the gift options :)
Here are just a few examples:
And so much more! Check out all the bug patterns HERE.
Join the email list
Want Bug News stories & announcements sent to your inbox? Never miss a story: Join the Bug News email list here or email me at Erika@bug.news with “Join email list” in the subject line.
Questions? Comments? Corrections?
I’d love to know what you thought and what’s on your mind. Email it to me at erika@bug.news. I’ll do everything I can to answer your questions, address your comments, and keep the stories updated :)
We’re also on Facebook so you can leave a comment or start a discussion there too if you prefer that medium…


